Install in ten minutes
Requirements #
- Node.js 22.
.nvmrcnames it, sonvm usepicks it up. - pnpm 10. Run
corepack enableonce: corepack then uses the version pinned inpackage.json. - A database. Docker runs a local MongoDB with one command. Any MongoDB 7 or later works too, and so does PostgreSQL (see The database).
- About 4 GB of free memory for a production build. The development server needs less.
1. Clone and install #
git clone <the kit's repository> my-site
cd my-site
corepack enable
pnpm install
Make your site's repository from a clone, not a GitHub fork. A fork of a private repository stays tied to it, and GitHub deletes it if your access to the original ends. Keep the kit as a second remote instead, so you can still take in new versions:
git remote rename origin kit
git remote add origin <your own repository>
git push -u origin main
Keep the clone's history: it is how git knows which version of the kit your site is on. New versions then arrive as a weekly pull request in your repository, once you give it a token that can read the kit (see Updating Tolk Starter). By hand, a release is git fetch kit --tags && git merge v0.6.0 on a branch of its own, merged with a merge commit.
2. Create .env #
cp .env.example .env
openssl rand -hex 32    # paste the result into PAYLOAD_SECRET
.env.example lists every variable the code reads, each with a comment. Only two need a value to start: DATABASE_URL, which already points at the local database, and PAYLOAD_SECRET. The rest are optional; Environment variables has the full table.
Keep PAYLOAD_SECRET the same from now on. It signs logins, and the demo seed and the jobs runner derive their tokens from it.
3. Start the database #
docker compose up -dThis starts MongoDB 8 on 127.0.0.1:27017, with its data in a Docker volume. DATABASE_URL in .env.example points at it. For PostgreSQL, run docker compose up -d postgres instead and set DATABASE_URL=postgres://tolk:[email protected]:5432/tolk (see The database).
4. Start the site #
pnpm devThe site is at http://localhost:3000 and the admin at http://localhost:3000/admin. The first start compiles for a minute; later starts are quick.
5. Create the first admin #
Open /admin. On an empty database it asks you to create the first user, and the first user is always an admin. Add more people later under Users, each with a role (see Roles and access).
6. Fill it with the demo #
pnpm seed:demoThe demo is a complete site for a fictional Scandinavian audio brand, Varde, in English and Danish. It uses every block and every module that is switched on, and takes a few seconds:
- a front page, about and support pages, a product story, contact with a form, a privacy page and a news index;
- news articles with authors, job ads, dealers on a map, case studies and a product catalog with specifications and prices;
- the header, footer, site settings, theme, a translation style guide, a glossary and the editors' guides.
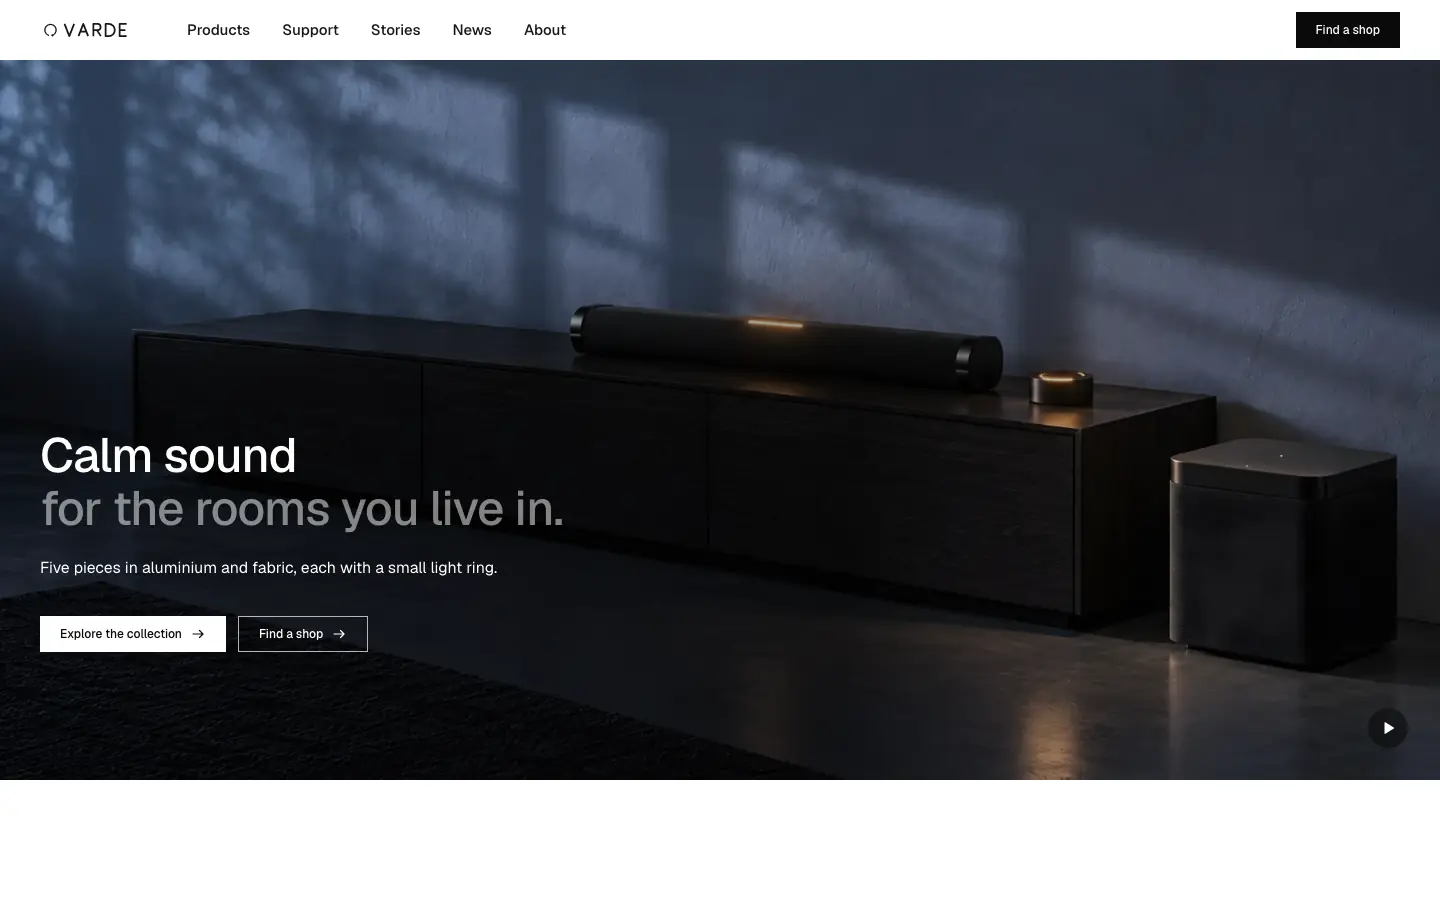
German is translated only on the front page, the products, the header and footer, from a recorded run of the translator (Demo translations). Open another page in German in the admin and use ✨ Translate (with ANTHROPIC_API_KEY set) to see the AI translation at work.
Some things to know:
- It needs an empty database. It refuses to write into a database that already has pages, documents or files, so it never mixes the demo into a real site. Your first admin does not count as content.
- The site refreshes by itself. With
pnpm devrunning, the seed asks it to drop its cached pages when it is done. If the site was not running, nothing is cached yet. - A login for demo visitors: set
DEMO_ADMIN_EMAILandDEMO_ADMIN_PASSWORDbefore seeding, and the seed makes an editor account with them. Without them it makes none. - Rebuilding the demo is
pnpm seed:demo --reset, withDEMO_RESET=truein the environment. It only ever deletes a database the demo seed filled itself. For a public demo that resets itself every night, see Live demo.
Without the demo, pnpm seed:guides adds the editors' how-to guides on their own, and pnpm seed:icons and pnpm seed:pictograms fill the two picture libraries with a starter set.
Next #
- Configuration: languages, modules, theme and the optional services.
- Editor guide: what your editors will do in the admin.
- Deploy when you are ready to go live.